Wet or Dry?
September 23, 2016
The British & Irish Underwater Photography Championship (BIUPC) winners 2016
October 13, 2016Starting out in Underwater Photography
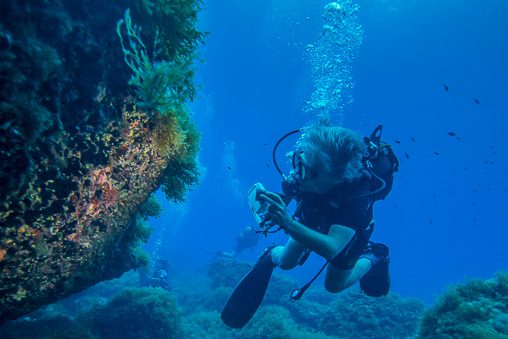
Cost often features in any article about underwater photography. There is no denying that setting yourself up with even a modest dedicated underwater camera system can knock a hefty dent in your bank balance. I make no apologies, I continue to feed my addiction and am constantly checking out new products that become must haves!

iPhone image – crayfish on a Croatian reef, torch used to add light
A difficulty that many are faced with are the initial startup costs. Will you really take to this new activity? Is the expensive kit going to be used a handful of times before sitting in a corner gathering dust and losing value?
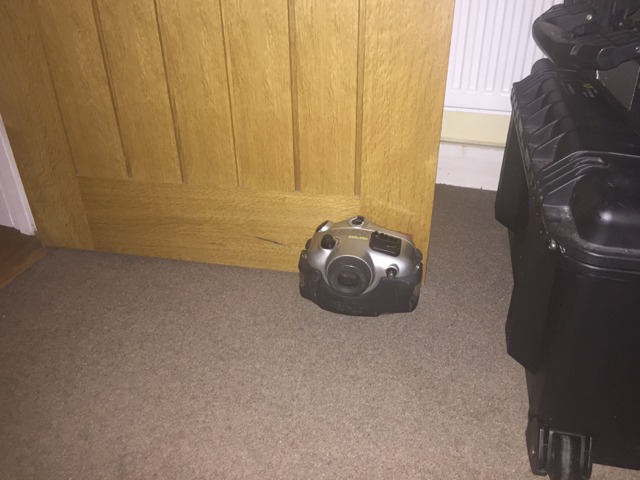
Expensive door stop?
You may come across somebody who has fallen into that trap and get a bargain. When I started out I picked up a Sea & Sea film camera housing with macro port, dome port and flash gun for £130.00 on eBay. I still use the ports & flash gun now and the old housing although obsolete has provided useful spare parts.
Luck doesn’t fall on everyone so what are the options?

Compact camera & housing – still a significant start up cost
Apart from investing in a modest compact camera & housing or even the ubiquitous GoPro(or its clones) low cost options are limited. Even then you can expect to pay a few hundred pounds.
Consider that most of us carry pretty decent cameras around with us that are part of our phones. Inexpensive housings are made for several models(Apple & Android). I thought it might be a good idea to try one out, would it make a good entry point into underwater photography?
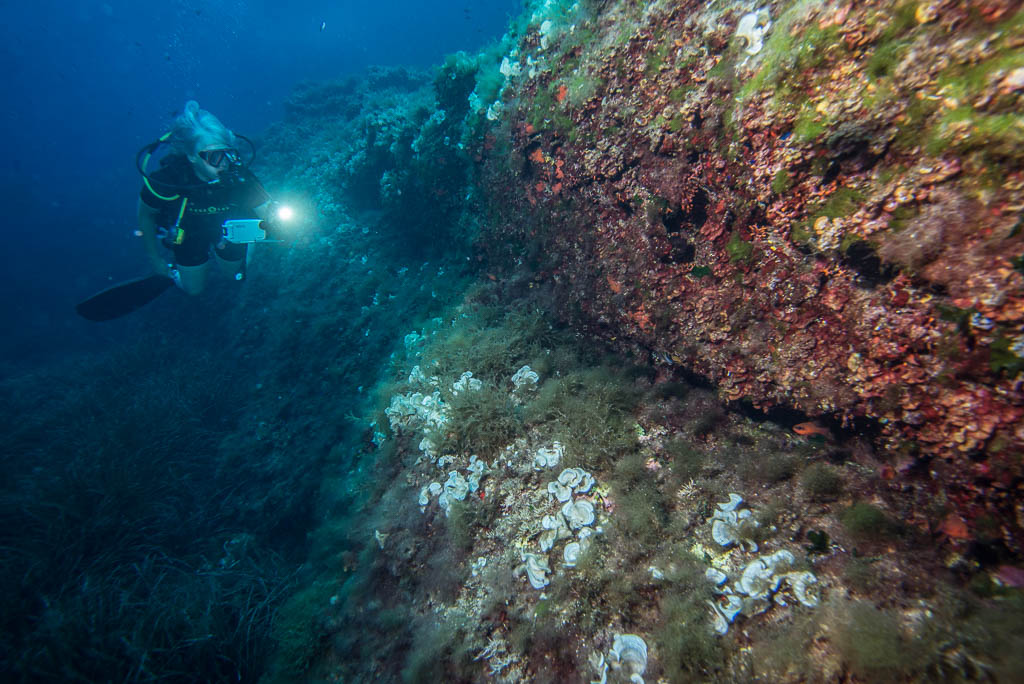
Using an iPhone housing underwater
I have an iPhone 6plus and a search of amazon and eBay came up with a few options. Make sure you are getting something suitable for the job, look for a housing that is 40m rated at least.
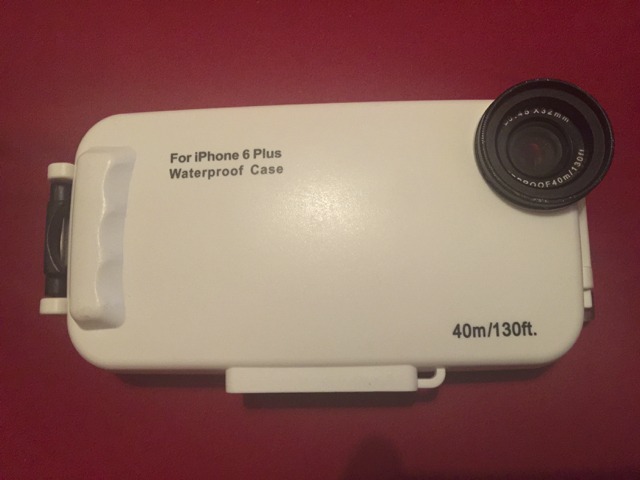
iPhone housing, simple yet robust
I purchased a Meikon housing in 2015 for just under £55.00. Looking on eBay today, housings similar to the one I have are going for less than £25.00.
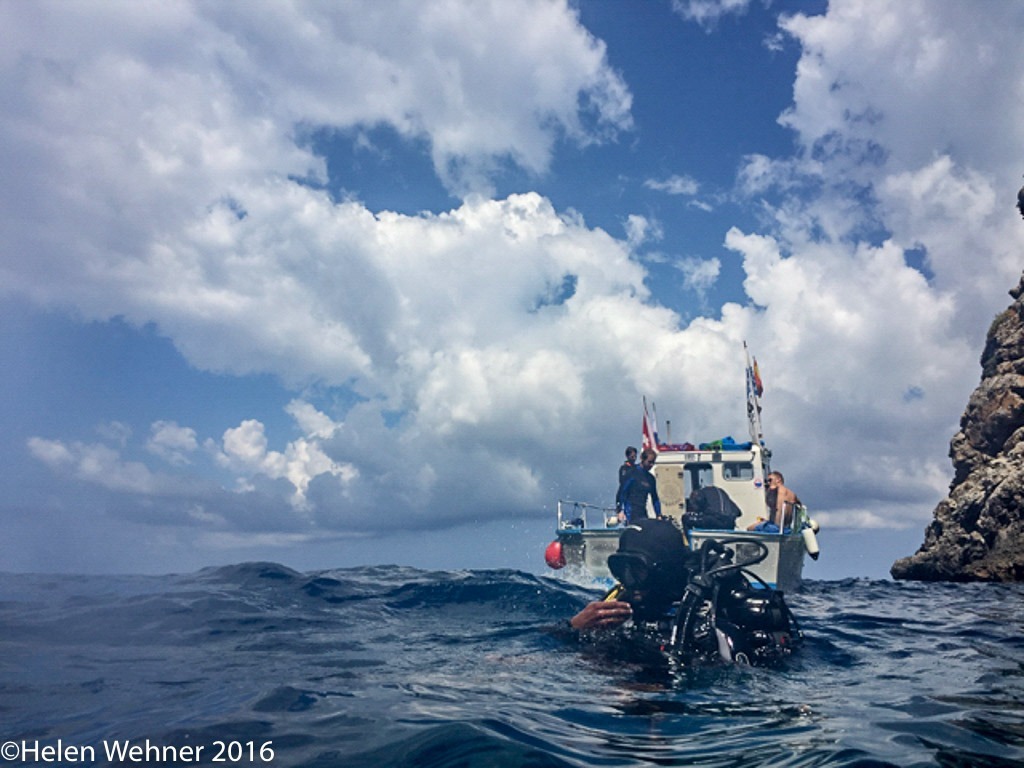
iPhone image, great for those splash zone shots!
If you feel anxious at the thought of putting your expensive phone into one of these housings, try the housing alone first to check it is watertight. The housing I received appears to be well suited to the job and came with spare o-ring, tube of silicone grease and colour correction filters. It was solidly built and I had no hesitation in using it for my phone, it has been taken to nearly 30m. Helen Wehner who has taken most of the iPhone images in this post has told me the buttons stopped working below 20m. This is because the buttons push in due to the increased pressure, it did not leak.

Using a torch to light up the subject
What is involved? A number of adjustments to the settings need to be made to allow functionality inside the housing. The touch screen cannot be used in the normal sense.
In the iPhone settings menu, Display & Brightness, the auto-lock needs to be set to Never. If the screen locked while underwater you would not be able to re-open it.
The Camera icon needs to be moved to the middle button of 3 on the bottom bar of the home screen . In the Camera app itself, turn the flash off.

iPhone image of jellyfish, natural light, no torch
These changes are to allow the Camera to be used in the housing. The buttons on the housing(below) allow changing between home screen & camera app and stills & video. You can change back to normal settings after use. The housing came with a comprehensive set of instructions.
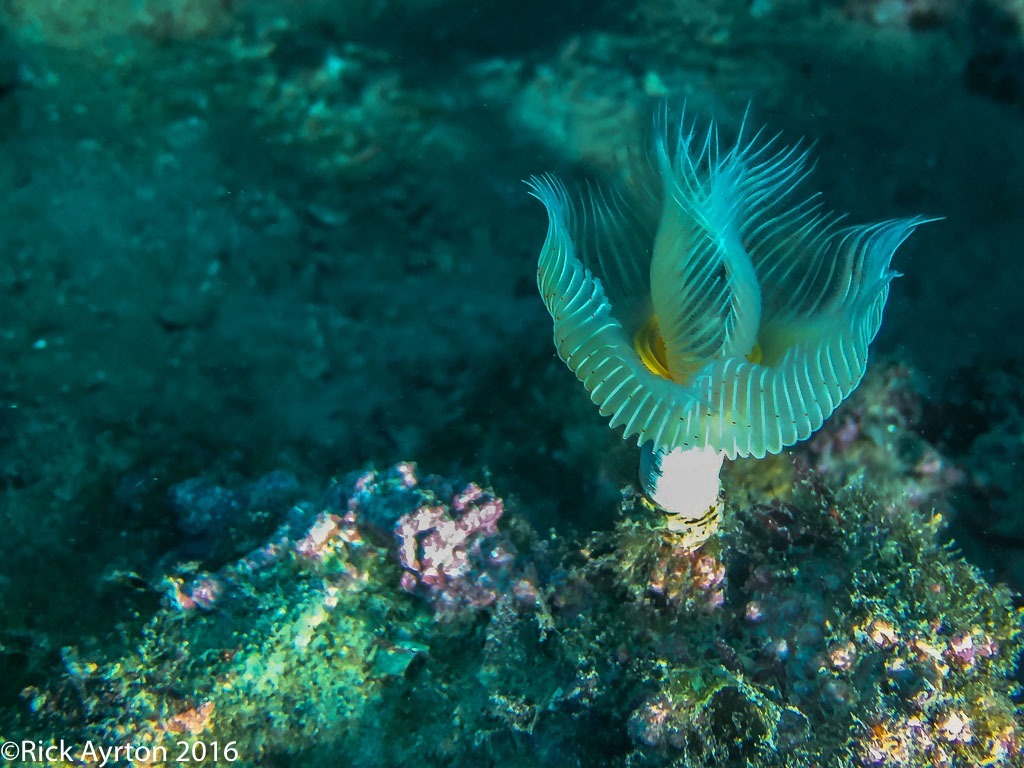
iPhone image of peacock worm, with torch
With the Auto-lock disabled the screen is permanently on, the battery life will be significantly worse than normal. From a full charge it is ok for about 2hrs. You do not want to set it up too long before the dive. Once the low battery warning appears it is impossible to cancel so renders the camera unusable.

Once you see this photography stops! at least there is some battery left for other uses once you surface.
Try it in a pool if you can, see what sort of images you can get. Underwater so much depends on how much light is available.

iPhone image, showing the wide angle capability but also limitations with contrast and dynamic range
It can be difficult if it is too dark, blur becomes a real problem and the focusing system of the camera struggles to lock onto the subject. Conversely if it is bright you may struggle to see the screen so end up shooting blind.

iPhone image, indoor pool no added light, the iPhone struggles to get a sharp image
One way to improve results is to add light from an external source. Using a phone it is not possible to link it to an external strobe(flash) but you can use a torch to add extra light. If you want to get any decent close ups with colour in the images you will need to do this. I constructed a tray out of an old piece of aluminium bar, the housing has a tripod mount on its base, it is easily fixed along with a strobe arm mount to attach a torch.
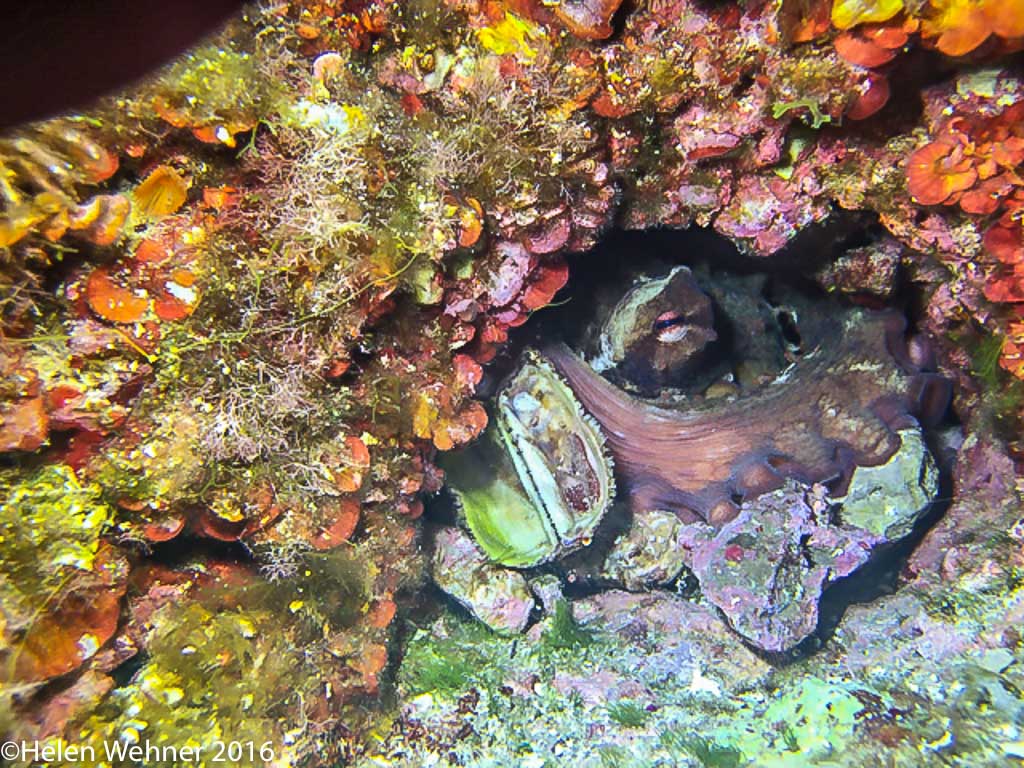
iPhone image, octopus hiding on a Majorcan reef
I have noted on the accompanying photos if they have been taken with the phone camera. It has its limitations and quality is not up to DSLR standard but (I hope you will agree) there are a few shots that are pretty good. They have been taken in Croatia, Majorca and a swimming pool.
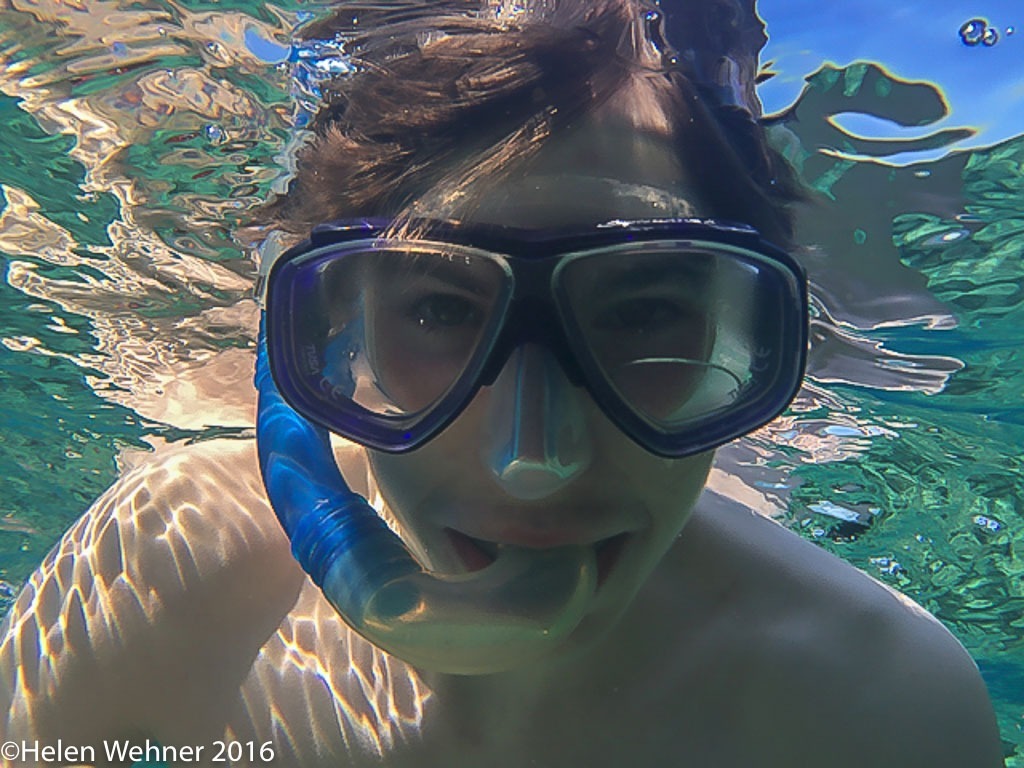
iPhone image, the iPhone works best when light levels are high, at or close to the surface
Is it a useful start? I think it does make for a good introduction but there are significant limitations. It might help you make the decision to spend significantly more on a dedicated underwater photography system.
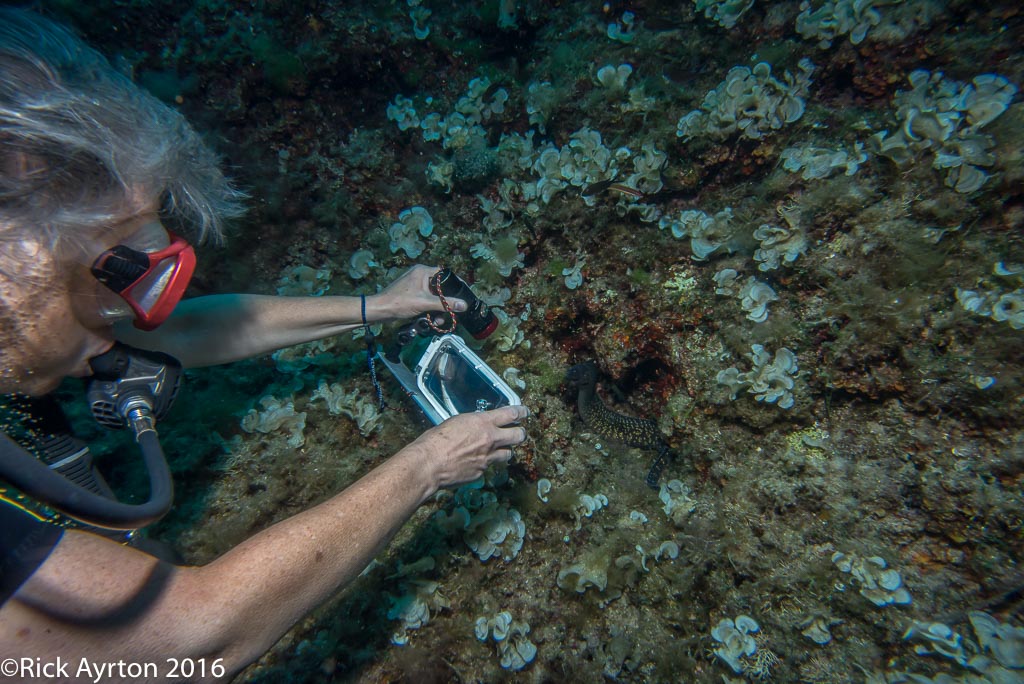
Using the iPhone to photograph a Moray
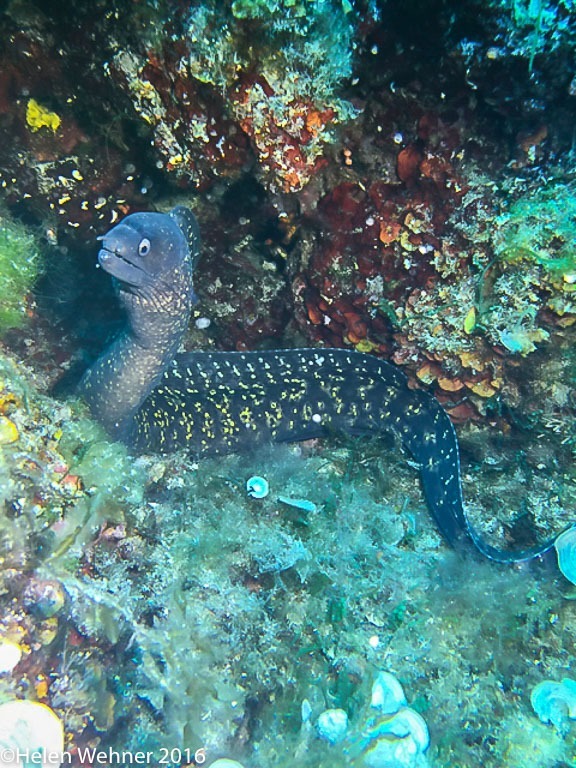
iPhone image of the Moray
A secondary consideration for divers and other watersports enthusiasts is that even if you don’t use the housing underwater it is a fantastic protective case. It can be used for those topside boat shots when the spray is flying.
I processed all the images through Adobe Lightroom.
For not much money you can take the first steps in underwater photography, be warned it can lead to a photographic habit that is expensive to fund, challenging, frustrating, rewarding and adds a new dimension to your diving.